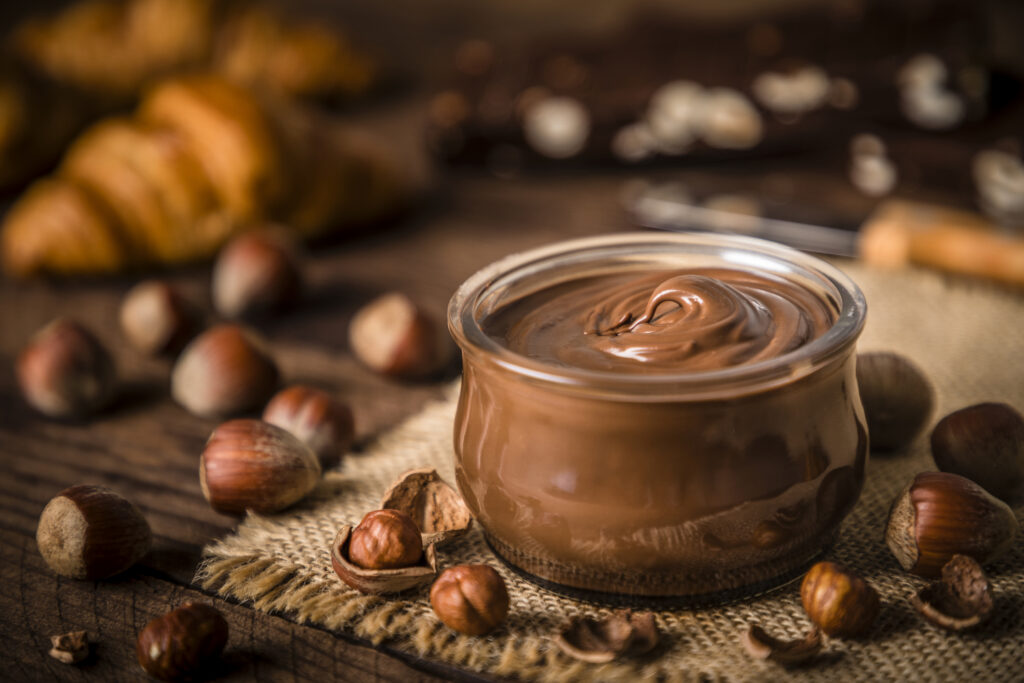
If you’re looking for a homemade Nutella without all the rubbish ingredients, then this delicious homemade chocolate hazelnut spread is for you. It can be made with just a handful of ingredients. The secret is to roast the hazelnuts well and blend them until they turn into a smooth, runny nut butter before adding the chocolate.
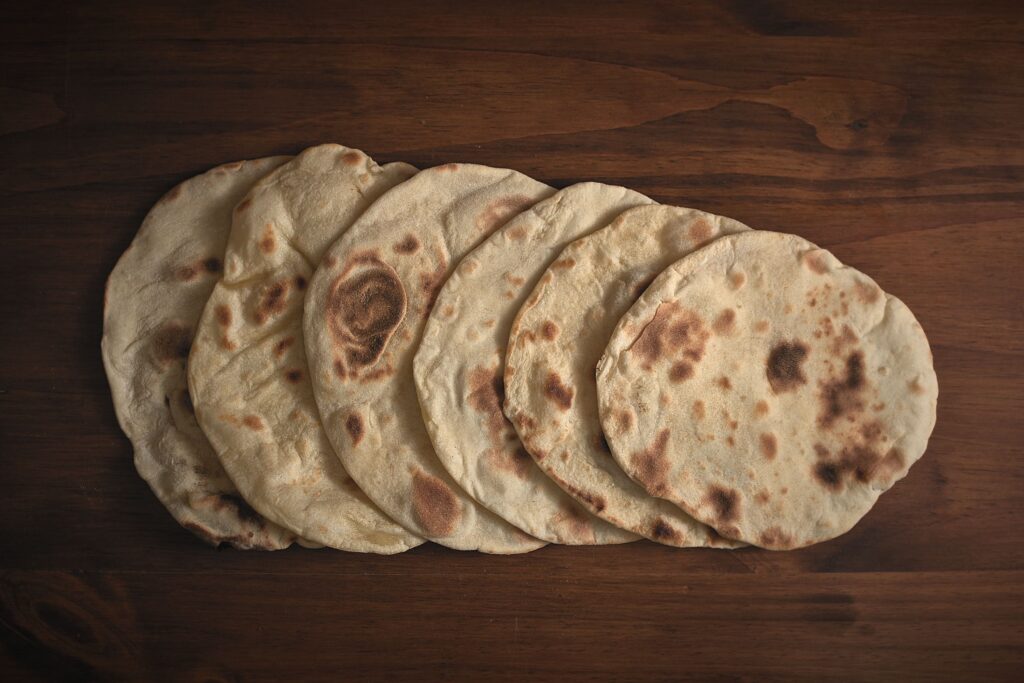
This version is rich and chocolatey, with the option to use less sugar than commercial Nutella. For a homemade snack, try spreading it on warm sourdough flatbreads.
Prep + cooking
20–30 min
Makes
1 medium jar
Ingredients
- 250 g raw hazelnuts
- 100 g milk or dark chocolate, chopped
- 2–3 tbsp icing sugar or finely powdered sugar, to taste
- 1–2 tbsp cocoa powder, unsweetened
- 1–2 tbsp neutral oil or hazelnut oil, if needed
- 1 tsp vanilla extract
- A small pinch of salt
For a less-sweet version: use dark chocolate and start with just 1 tbsp of sugar. You can always add more.
Method
1. Roast the hazelnuts
Heat the oven to 180°C (160°C fan-forced). Spread the hazelnuts on a tray and roast for 10–15 minutes until fragrant and lightly golden. Keep an eye on them so they don’t burn.
2. Remove the skins
Tip the warm nuts into a clean tea towel and rub them together to loosen the skins. Don’t worry if some remain.
3. Blend into hazelnut butter
Put the nuts into a powerful food processor and blend for 5–10 minutes, stopping to scrape down the sides. They’ll go from crumbs to a thick paste and finally a smooth, oily nut butter.
4. Add the chocolate
Melt the chocolate gently, then add it to the hazelnut butter with the cocoa, sugar, vanilla and salt. Blend until glossy and smooth. Add a little oil if it’s too thick.
5. Taste and store
Adjust the sweetness and cocoa to your liking. Spoon into a clean, dry jar and let it cool.
Tips for the best result
- Extra smooth: Blend the hazelnuts for longer than you think you need to. This is the most important step.
- Sweeter, more like commercial Nutella: Use milk chocolate and a little extra icing sugar.
- More chocolatey: Add another tablespoon of cocoa.
- Lower sugar: Use 85% dark chocolate and skip the extra sugar initially.
- No gritty texture: Use icing sugar rather than ordinary granulated sugar, which may not dissolve properly.
Storage: Because this homemade version has no commercial preservatives, keep it in a clean, airtight jar in the fridge and use within about 2–3 weeks. It will firm up when chilled, so let it sit at room temperature before spreading. Always use a clean, dry spoon.